How to Take a Passport Photo with a Changed Background Online
Learn how to take a passport photo with a changed background in this helpful guide. Find out the steps to ensure your photo meets all the necessary requirements for your passport application.
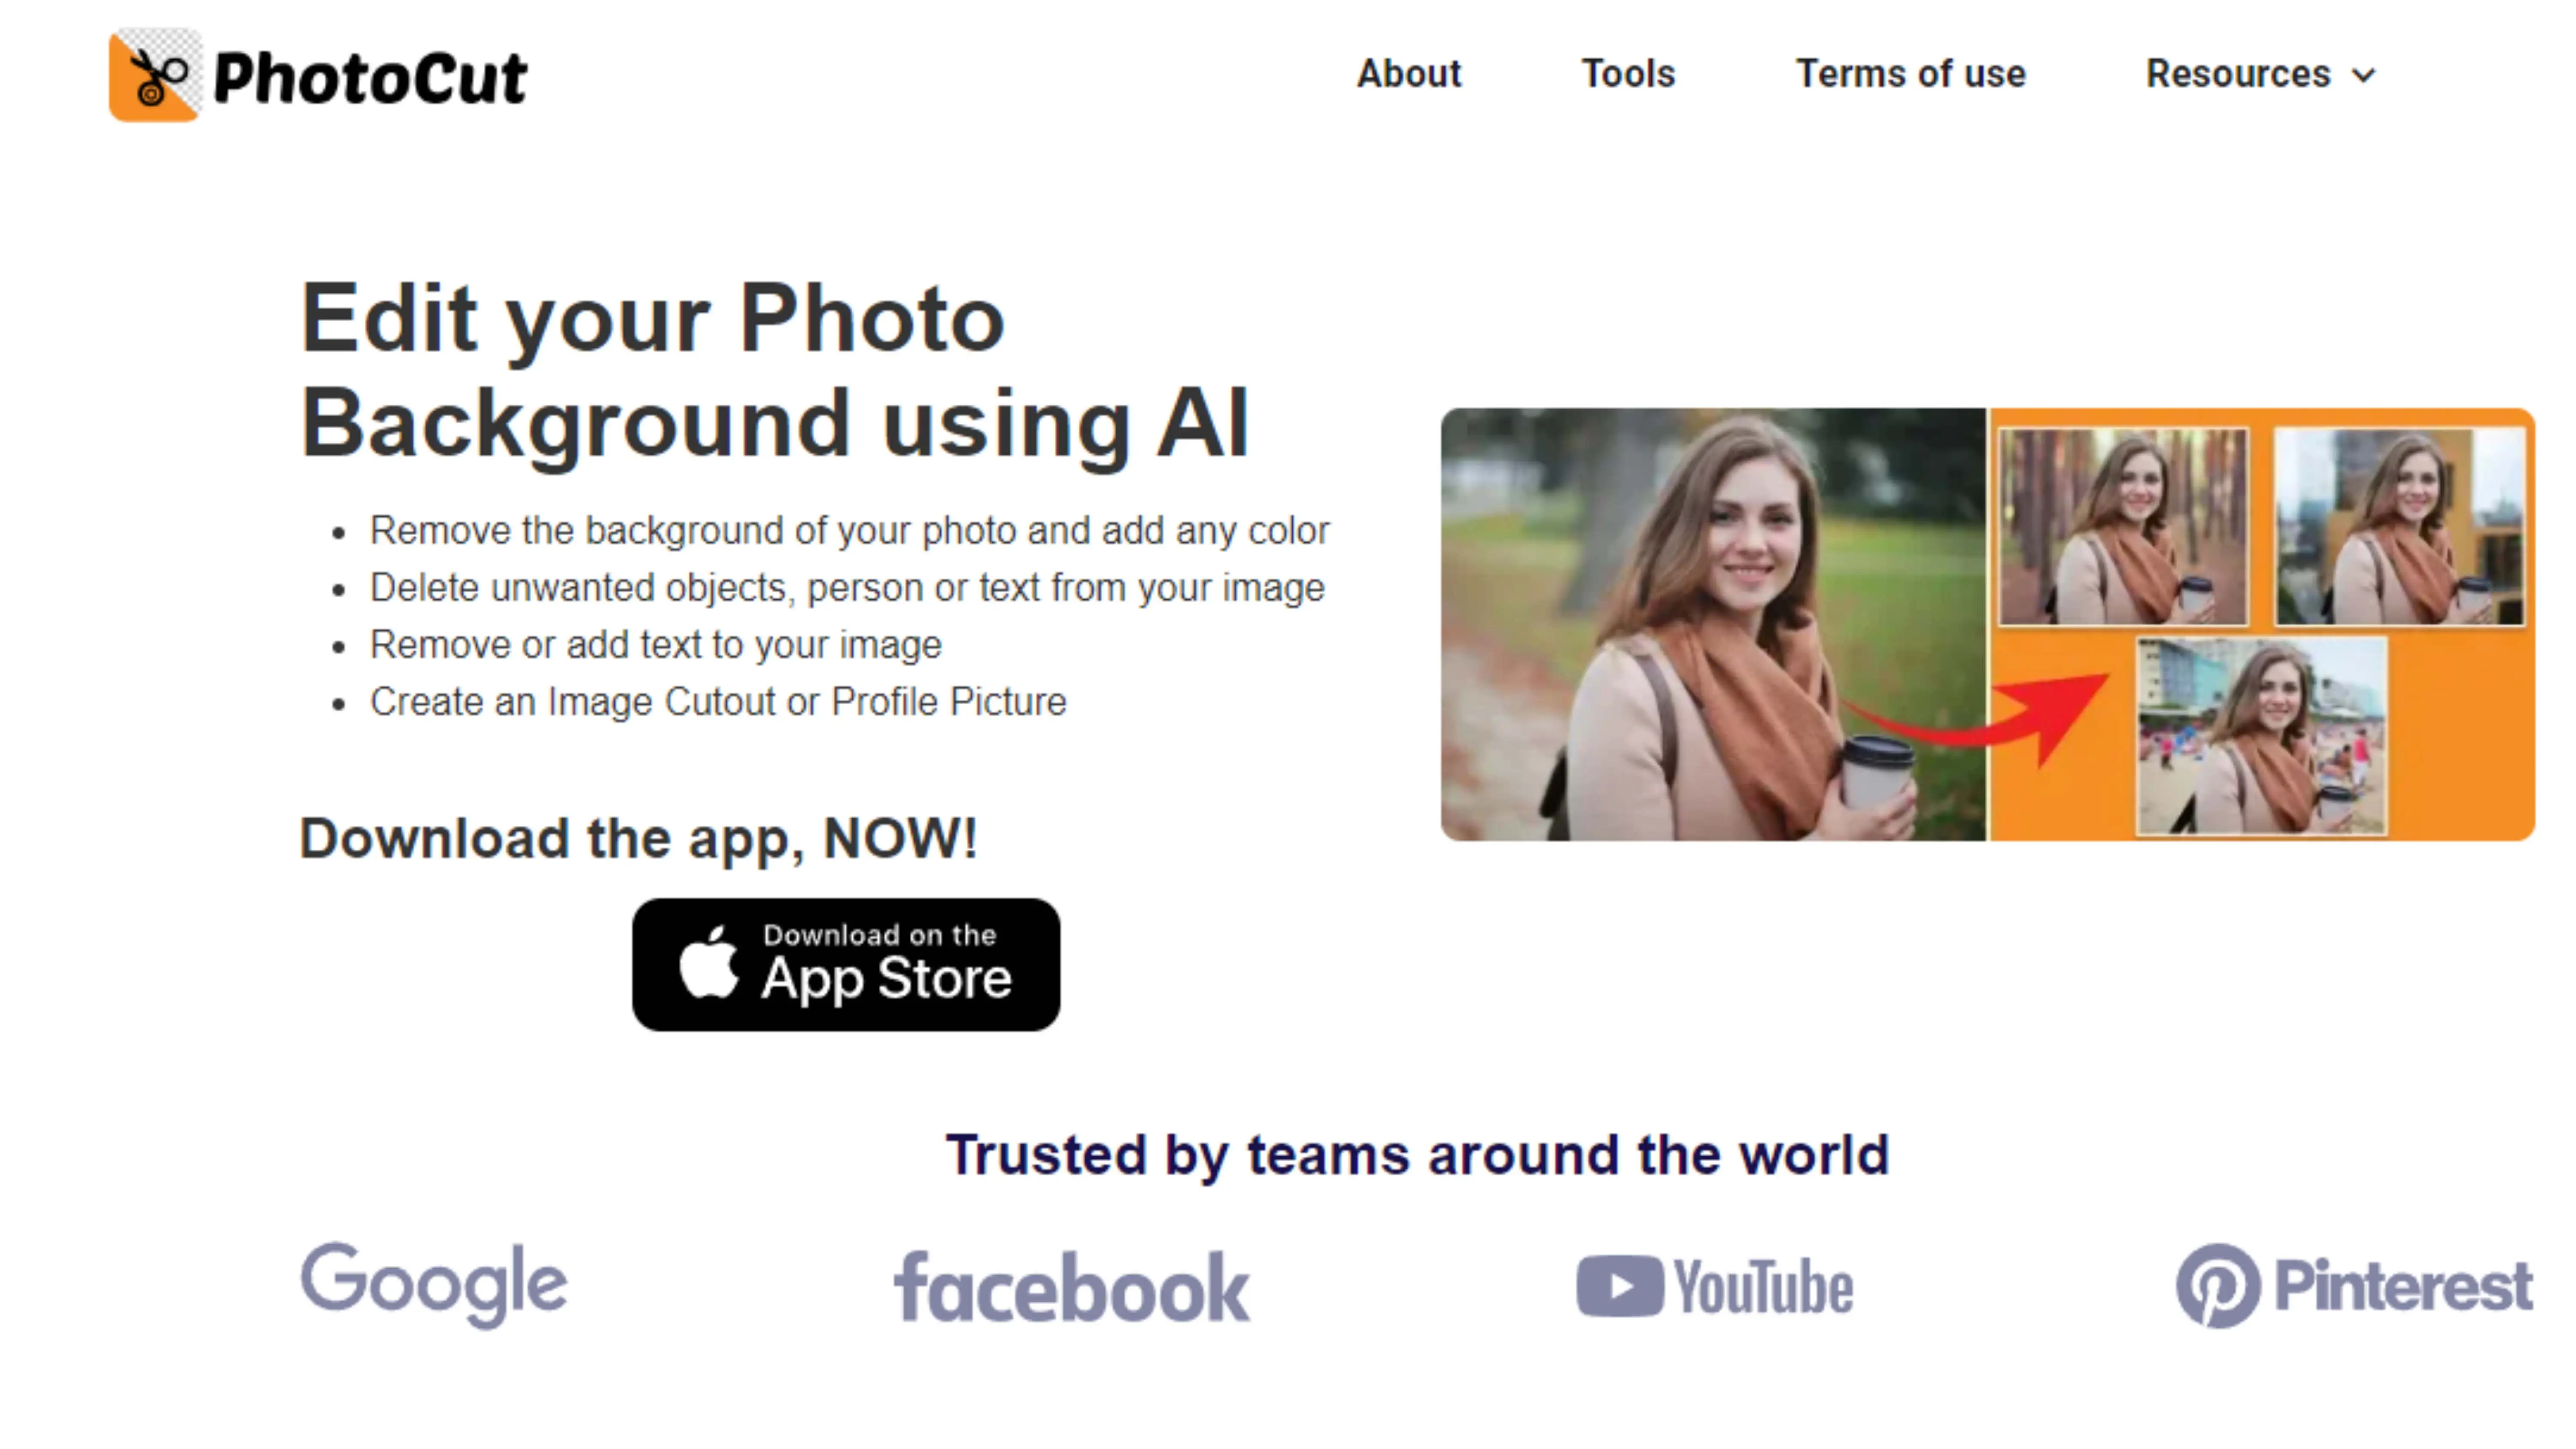
Download the app, NOW!


.png)

.png)


PhotoCut - A Game Changer!
Explore endless tools and templates at your fingertips to customize your new image using the PhotoCut app. They love us. You will too.
.webp)
CAPTAIN SYKE

So much easy to use than the other apps that I have encountered. I'm so satisfied. I fished to clear the background less than a minute! Keep it up🙌🏻
.webp)
Lee Willetts (Dr.Drone Doomstone)
Great app, used alongside text on photo, you can create some great pics. Hours of fun.
.webp)
Bran Laser
I always erase and cut something with this it is very op there is no bug and I made a picture for my channel very nice install it now!
.webp)
ZDX Gaming
The Best Photo Editor .. Not Many Can Actually Cut Pictures Perfectly Like this App been looking for something like this for a long time 💔😂 Nice App I recommend it Giving it 5 star
.webp)
Small Optics
Best app of this type out there, it does nearly all of the work for you.. Great work developers.
.webp)
Emilia Gacha
It's really useful and super easy to use and it may be the best background eraser app!
.webp)
kymani ace
This is a really nice app I love how it let's me do lots of edits without paying for anything and there isn't even a watermark, very good app.
.webp)
Nidhish Singh
Excellent apps and doing all the work as expected. Easy to use, navigate and apply to any background after cut out.
.webp)
Adrian
Been using this app for many years now to crop photos and gotta say, really does what it's supposed to and makes photo's look realistic. Recommend it very much.
.webp)
Indra Ismaya
Easy to use, very usefull
.webp)
Barbie Dream
I love this app! You can edit and change the background i been using it for months for my video! Keep it going.
.webp)
Kaira Binson
Ouh..finally i found a good app like this..after instalking 6-8 apps ..i finally get the right one...easy..free...so cool...but maybe pls..adjust your ads..in this app..thanks☺
.webp)
Tara Coriell
I payed for premium but it was only a 1 time payment of 5.29 and I love this app. There are a lot of nice features

Engels Yepez
Great app for edit photos, it include an interesting IA function for apply effects to your pics

Azizah ahmad
This apps is awesome compared to other photo cut apps. I have tried several photo cut apps but all of them was bad. And finally i found this app, super easy to use, have feature smart cut and smart erase. Awesome !!
.webp)
Galaxy Goat
The app is incredible! I erased a background and added it into a new background in less then 20 seconds. Normally it takes 10-20 minute's on other apps. Highly recommend
.webp)
Victor Maldonado
I been having a few issues with app can't zoom in like before and its not like it use to what happen i paid for this app not liking the new upgrade
.webp)
Lynsiah Sahuji
more accurate in removing background, didn't required so much effort. love this! ❤️


Remember the days when you had to squeeze into a smelly booth and pay a ton of money for passport photos? Well, those days are over! Now, you can take a passport photo from the comfort of your own home. No more awkward poses or wasted money. We'll show you how to take a passport photo that you'll actually like.
In today's world, taking a passport photo is super easy. You can do it at home without any hassle. Say goodbye to the old way of doing things and hello to a new era of convenience and control.
Meeting Passport Photo Requirements
We'll walk you through the rules for passport photos in the U.S. and Europe. We'll make sure your photo meets all the necessary standards, from the right facial expressions to the proper clothing. But the best part? We'll show you how to change the background of your passport photo seamlessly. This step is crucial to make sure your photo follows all the strict rules set by government agencies.
This process isn't just about following the rules; it's also about adding a personal touch to a task that used to be boring and annoying. Follow our tips, and you'll have a passport photo that shows off the best version of yourself without ever leaving your house.
What is a Passport Photo Background?
A passport photo background is the backdrop used in a passport picture. Passport photos have strict guidelines, and the background is a big part of meeting those rules. Here are the main things to know about a proper passport photo background:
Color: The background should be plain white or off-white to make sure your face and hair stand out.
Uniformity:
The background should be smooth and even, with no patterns, textures, shadows, or objects that could distract from your face.
Lighting:
The background should be evenly lit to avoid shadows on your face or in the background. Good lighting makes sure your features are clear.
Contrast:
The background should contrast with your face and hair, but not too much. This contrast helps you stand out in the photo.
These rules are in place to make sure passport photos are clear, easy to identify, and follow the same standards. When taking a passport photo at home, it's important to have a background that meets these guidelines.
Essential Tips for Taking a Great Passport Photo at Home
Taking your own passport photo at home saves time and money and lets you look your best. Here are some important tips to make sure your at-home passport photo meets the standards and looks awesome:
Choose the Right Outfit:
Wear a shirt or dress with a nice collar in a color that looks good on you. This is the only part of your outfit that will show in the photo, so pick something that makes you feel confident.
Style Your Hair:
Make sure your hair looks good and doesn't cover your face, especially your eyes. If you have bangs, keep them out of your face. Think about how your hairstyle will look from the front, since that's how passport photos are taken.
Lighting:
Use a lamp in front of you or face a window for even lighting on your face. This helps avoid shadows and makes your features stand out.
Use a Tripod:
A tripod keeps your camera steady and at eye level, which is important for passport photos.
Camera Settings:
Use the portrait mode on your camera to focus on your face and blur the background.
Plain Background:
Start with a plain background for your photo. This makes it easier to change the background later, which is often needed for passport photos.
Facial Expression:
Keep a neutral expression with your eyes open. No smiling or other expressions are allowed in passport photos.
These tips apply to passport photos in any country. However, specific rules for photo size and background can vary between countries like the U.S. and Europe, which we'll talk about next.
Lastly, we'll show you how to change the background of your passport photo, a key step to make sure your photo meets all the requirements.
How to Take the Perfect Passport Photo at Home
The annoying thing about passport photo booths is that you only get one or maybe three shots. And somehow, you still don't look your best, right?
Don't worry! You can take a great passport photo right at home. Here are our top tips:
Find the Right Spot: Choose a well-lit area with natural light. Avoid direct sunlight to prevent shadows. A room with a big window is perfect.
Solid Background: Use a plain, light-colored background. A white wall is best, but you can hang a light sheet if needed.
Camera Position:
Place your camera at eye level. Use a tripod or stack of books to keep it steady.
Maintain Distance:
Stand about 4 feet from the camera to avoid distortions.
Neutral Expression:
Keep a neutral face with both eyes open and mouth closed. No smiling or frowning.
Dress Appropriately:
Wear everyday clothes. Avoid uniforms or busy patterns. Bright colors are not recommended.
Good Lighting:
Make sure your face is evenly lit without any shadows. Add extra lamps if needed.
Check Hair and Accessories:
Your hair should not cover your eyes. Glasses should not have glare, and hats are only allowed for religious reasons.
By following these steps, you can take a passport photo at home that meets all the requirements and shows off your best self. Say goodbye to unflattering, expensive booth photos and hello to convenient, at-home passport photography!
How to Take the Perfect Passport Photo at Home
Why You Need a Passport Photo
Passport photos are super important for a bunch of official stuff. Here's why:
Passport Application and Renewal
If you're getting a new passport or renewing an old one, you need a recent passport photo to show how you look now.
Visas
Some countries need a passport-sized photo when you apply for a visa. It helps them know who you are when you travel.
Identification Purposes
Passport photos are a way to prove who you are. You might need one for things like getting a job or going to college.
International Travel
Having a passport photo helps border control and security people know it's really you when you travel to other countries.
Other Official Documents
Sometimes you need a passport photo for things like ID cards, driver's licenses, or health insurance cards.
Security and Fraud Prevention
Passport photos have rules to make it hard for people to pretend to be someone else. This helps keep things safe and secure.
Emergency Situations
If you lose your passport while traveling, having an extra passport photo can help you get a new one faster.
Passport photos are a big deal for making sure you look right in official documents and making travel and ID stuff go smoothly.
U.S. Passport Photo Requirements
When you apply for a U.S. passport, your photo has to follow some rules. Here's what you need to know:
Size
Your photo has to be 2 inches by 2 inches. That's the standard size for all passports.
Background
The background of your photo has to be plain white so your face stands out.
Head Size
Your head should be a certain size in the photo to make sure it looks right.
Photo Quality
Your photo needs to be clear and printed on good photo paper.
Recency
Your photo has to be taken within the last six months to show how you look now.
Natural Appearance
Your photo can't be edited with filters or anything. It has to show your real face.
Photography Method
You can't take a selfie for your passport photo. It has to be taken by someone else or with a camera on a stable surface.
Following these rules will make sure your passport photo is accurate and helps with ID and security stuff.
U.S. Passport Photo: Facial Expression & Dress Code Requirements
When you take a U.S. passport photo, you have to follow some rules about your face and what you wear. Here's what you need to do:
Facial Expression
You have to have a neutral face in your photo. No smiling or frowning allowed!
Glasses
Usually, you can't wear glasses in your passport photo. If you need to, you have to get a note from your doctor.
Uniforms and Camouflage
You can't wear anything that looks like a uniform in your photo. This is to avoid confusion with military or government people.
Headwear
You can't wear hats or head coverings unless it's for religious reasons. And even then, it can't cover your face.
Passport Photo Guidelines Simplified
Jewelry and Accessories
When it comes to jewelry in your passport photo, keep it simple. Don't wear anything that covers your face or eyes, and make sure it doesn't cause any glare or shadows that could mess up the picture.
Verification Tools
If you're not sure if your photo meets all the rules, the U.S. government has a tool online that can help you check. You can also find detailed guidelines and sample photos on the official website to see what's allowed and what's not.
U.S. Passport Photo: Facial Expression & Dress Code Requirements
It's not just about the size and background of your passport photo - your facial expression and what you wear are important too. Here's what you need to know:
Facial Expression
Keep a neutral face in your photo. No smiling, frowning, or any other expressions. Just relax with your eyes open and mouth closed.
Glasses
Usually, glasses are a no-go for passport photos. But if you need them for medical reasons, you'll need a note from your doctor.
Uniforms and Camouflage
Avoid wearing anything that looks like a uniform, including camouflage. This is to avoid confusion with military or government personnel.
Headwear
Unless it's for religious reasons, skip the hats or head coverings. And even then, make sure they don't cover your face or hairline.
Jewelry and Accessories
Keep your jewelry simple and make sure it doesn't cover your face or eyes. It shouldn't cause any glare or shadows in the photo.
Verification Tools
If you're still not sure if your photo follows all the rules, use the online testing tool provided by the U.S. government. You can also check the official website for more guidance and examples of acceptable and unacceptable photos.
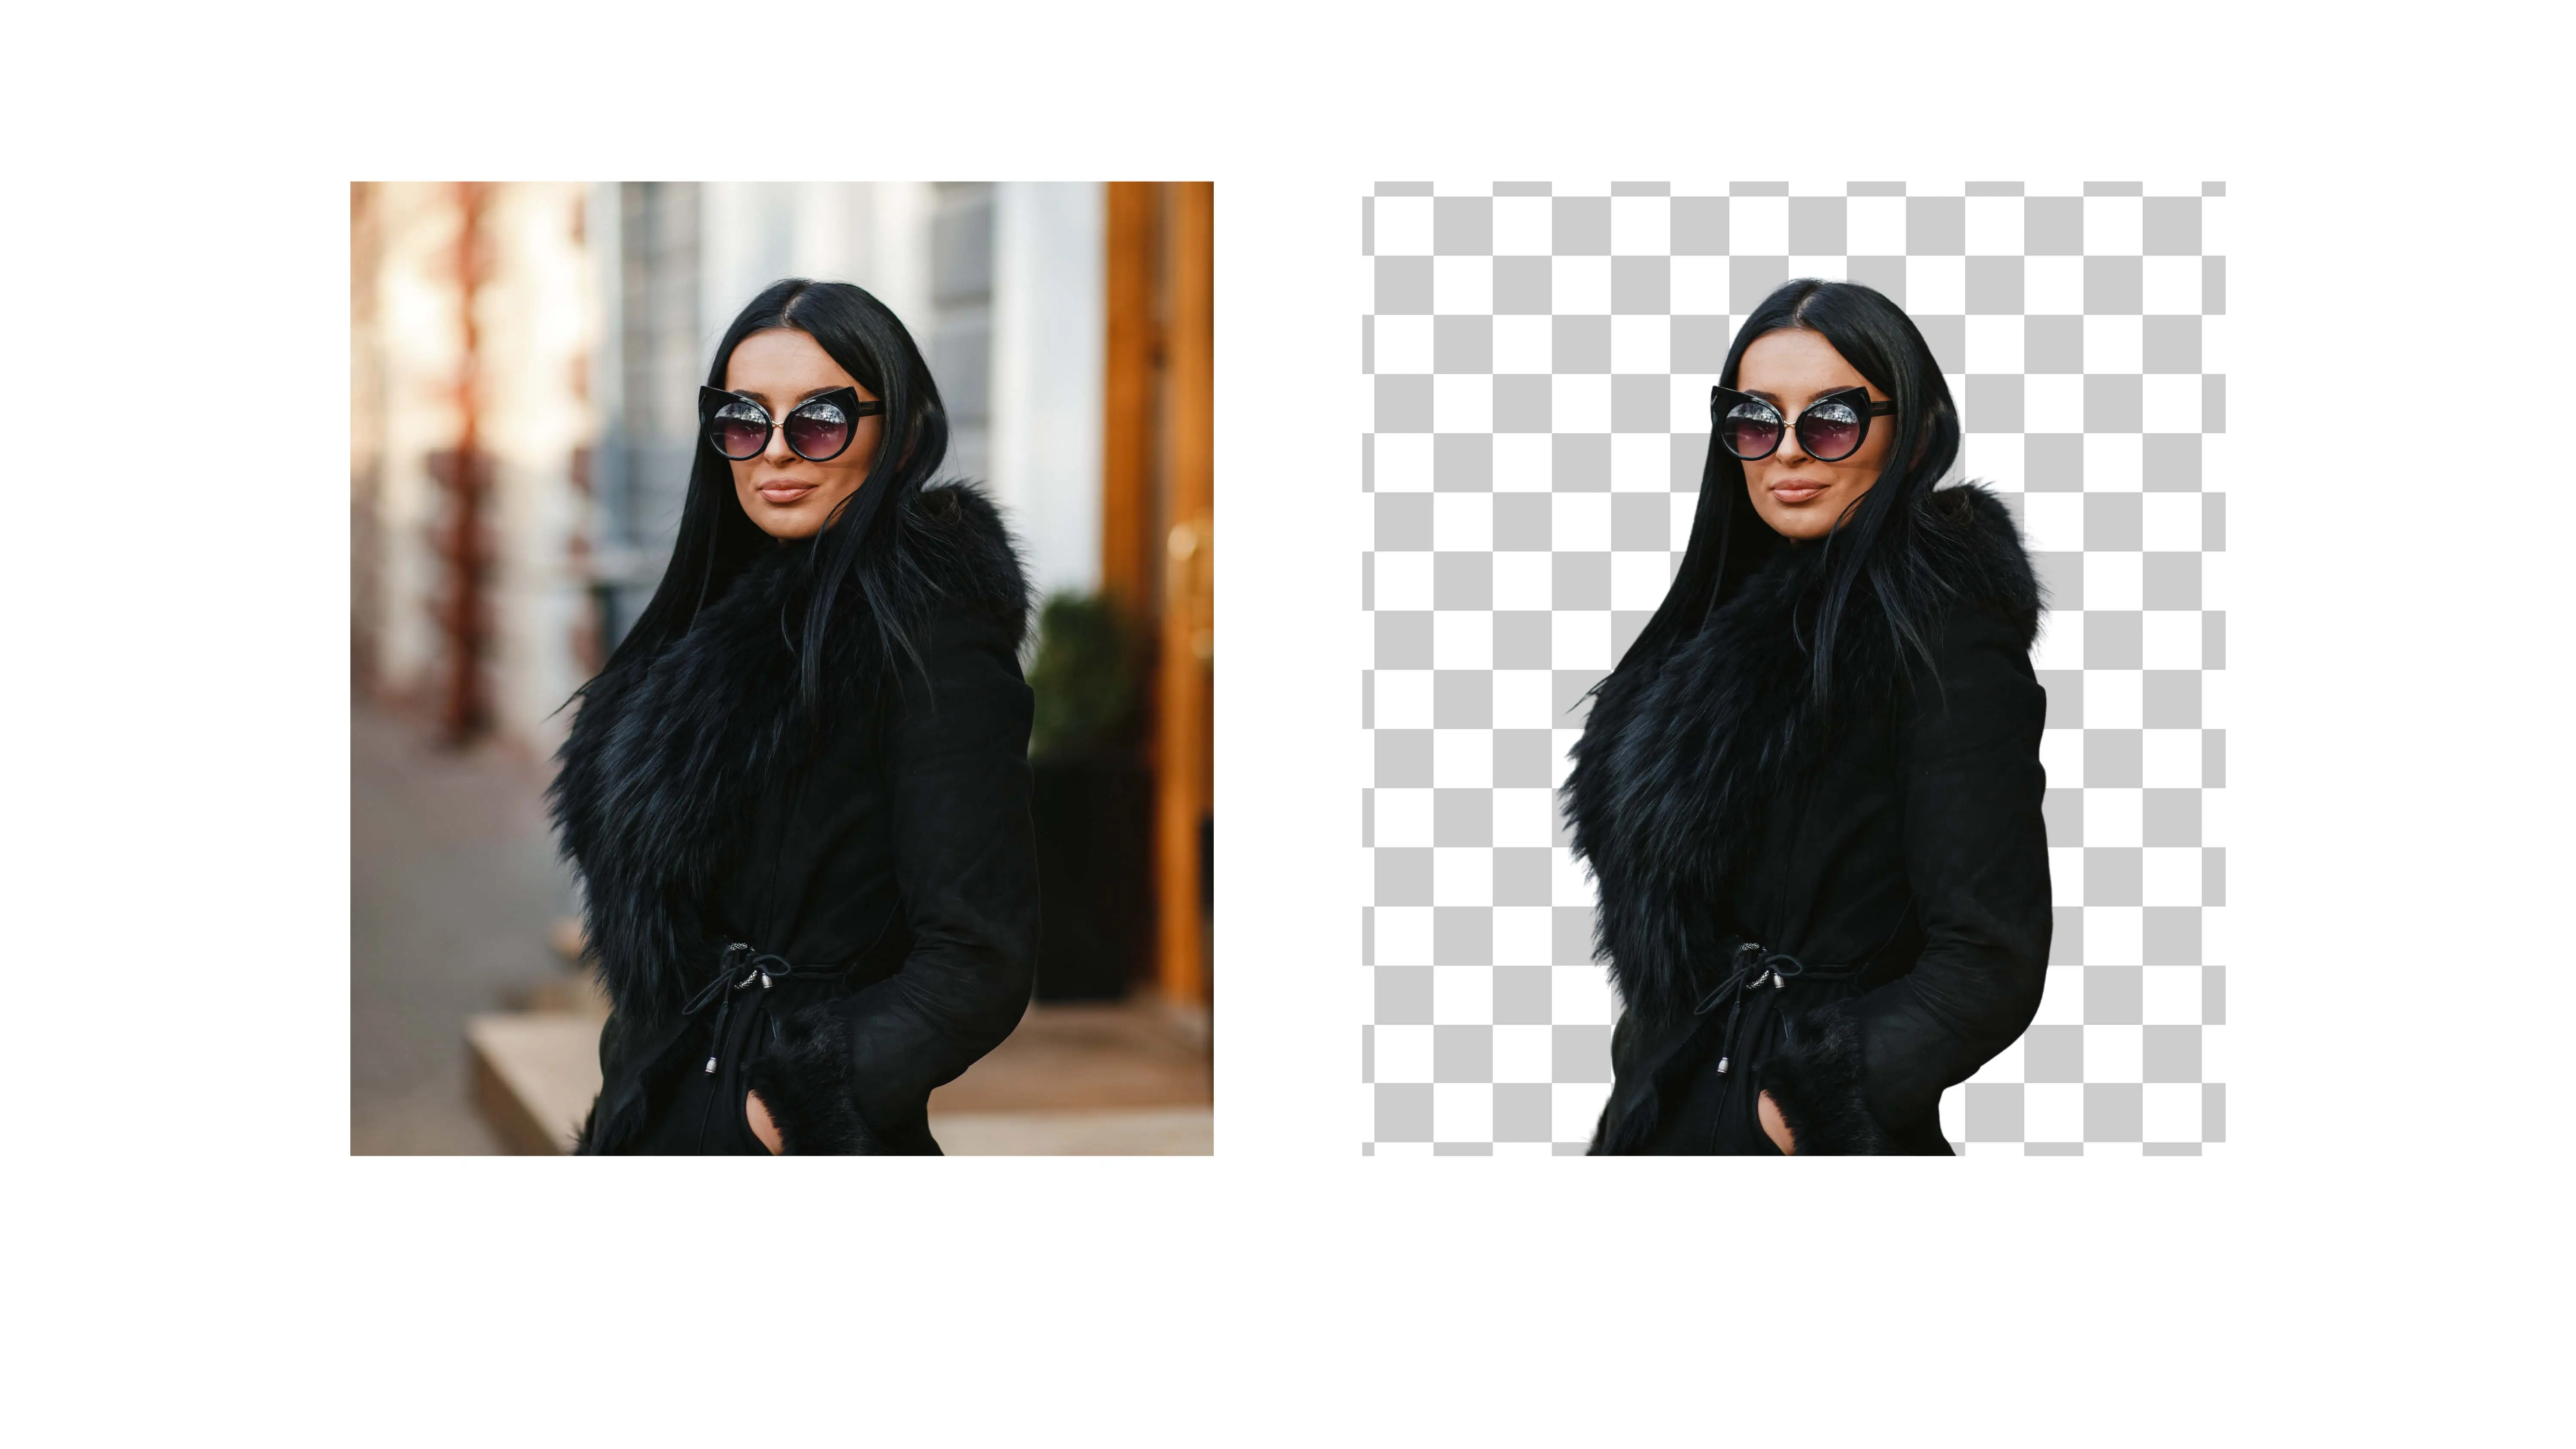
How to Remove & Change the Background Color of a Passport Photo Using Photocut
If you need to fix the background of your passport photo, it's easy to do online. For U.S. passports, you'll need a plain white background. Here's how to do it with Photocut:
Visit Photocut
Go to the Photocut website, where you can easily remove and change photo backgrounds.
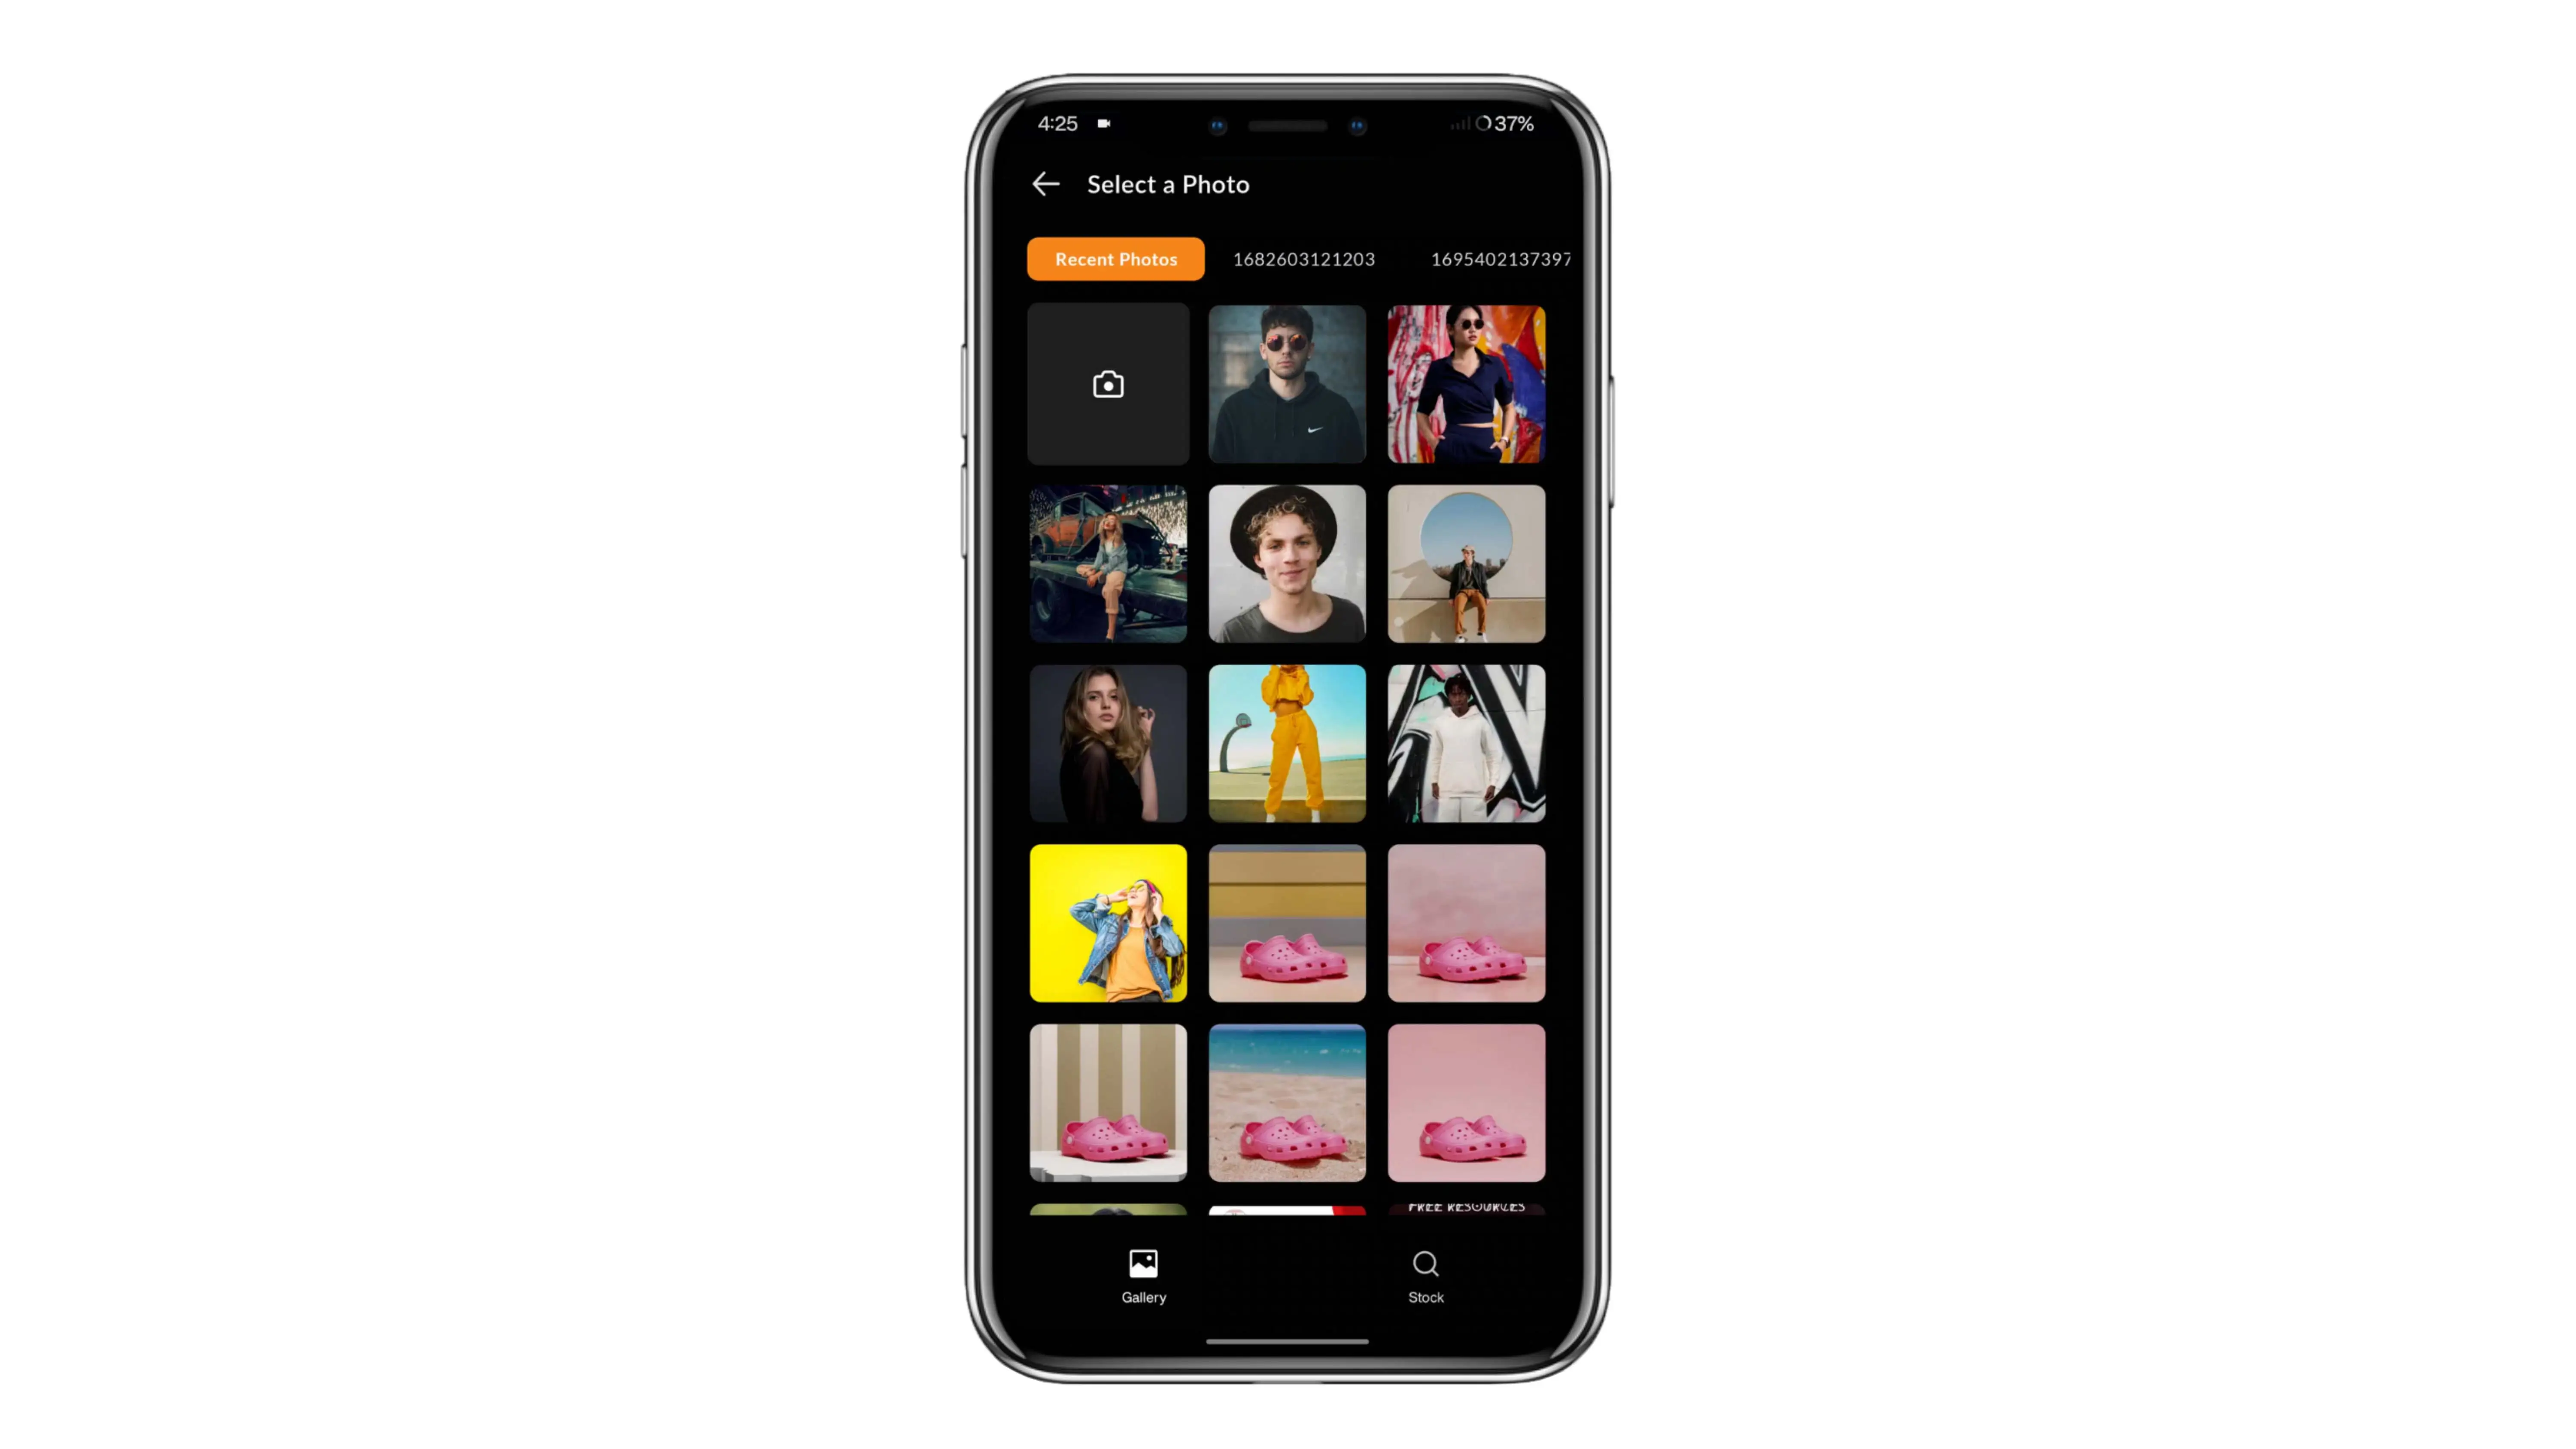
Upload Your Photo
Upload your headshot to Photocut by dragging and dropping the file or using the file selection option.
Automatic Background Removal
Photocut will quickly remove the background of your photo, leaving just your headshot.
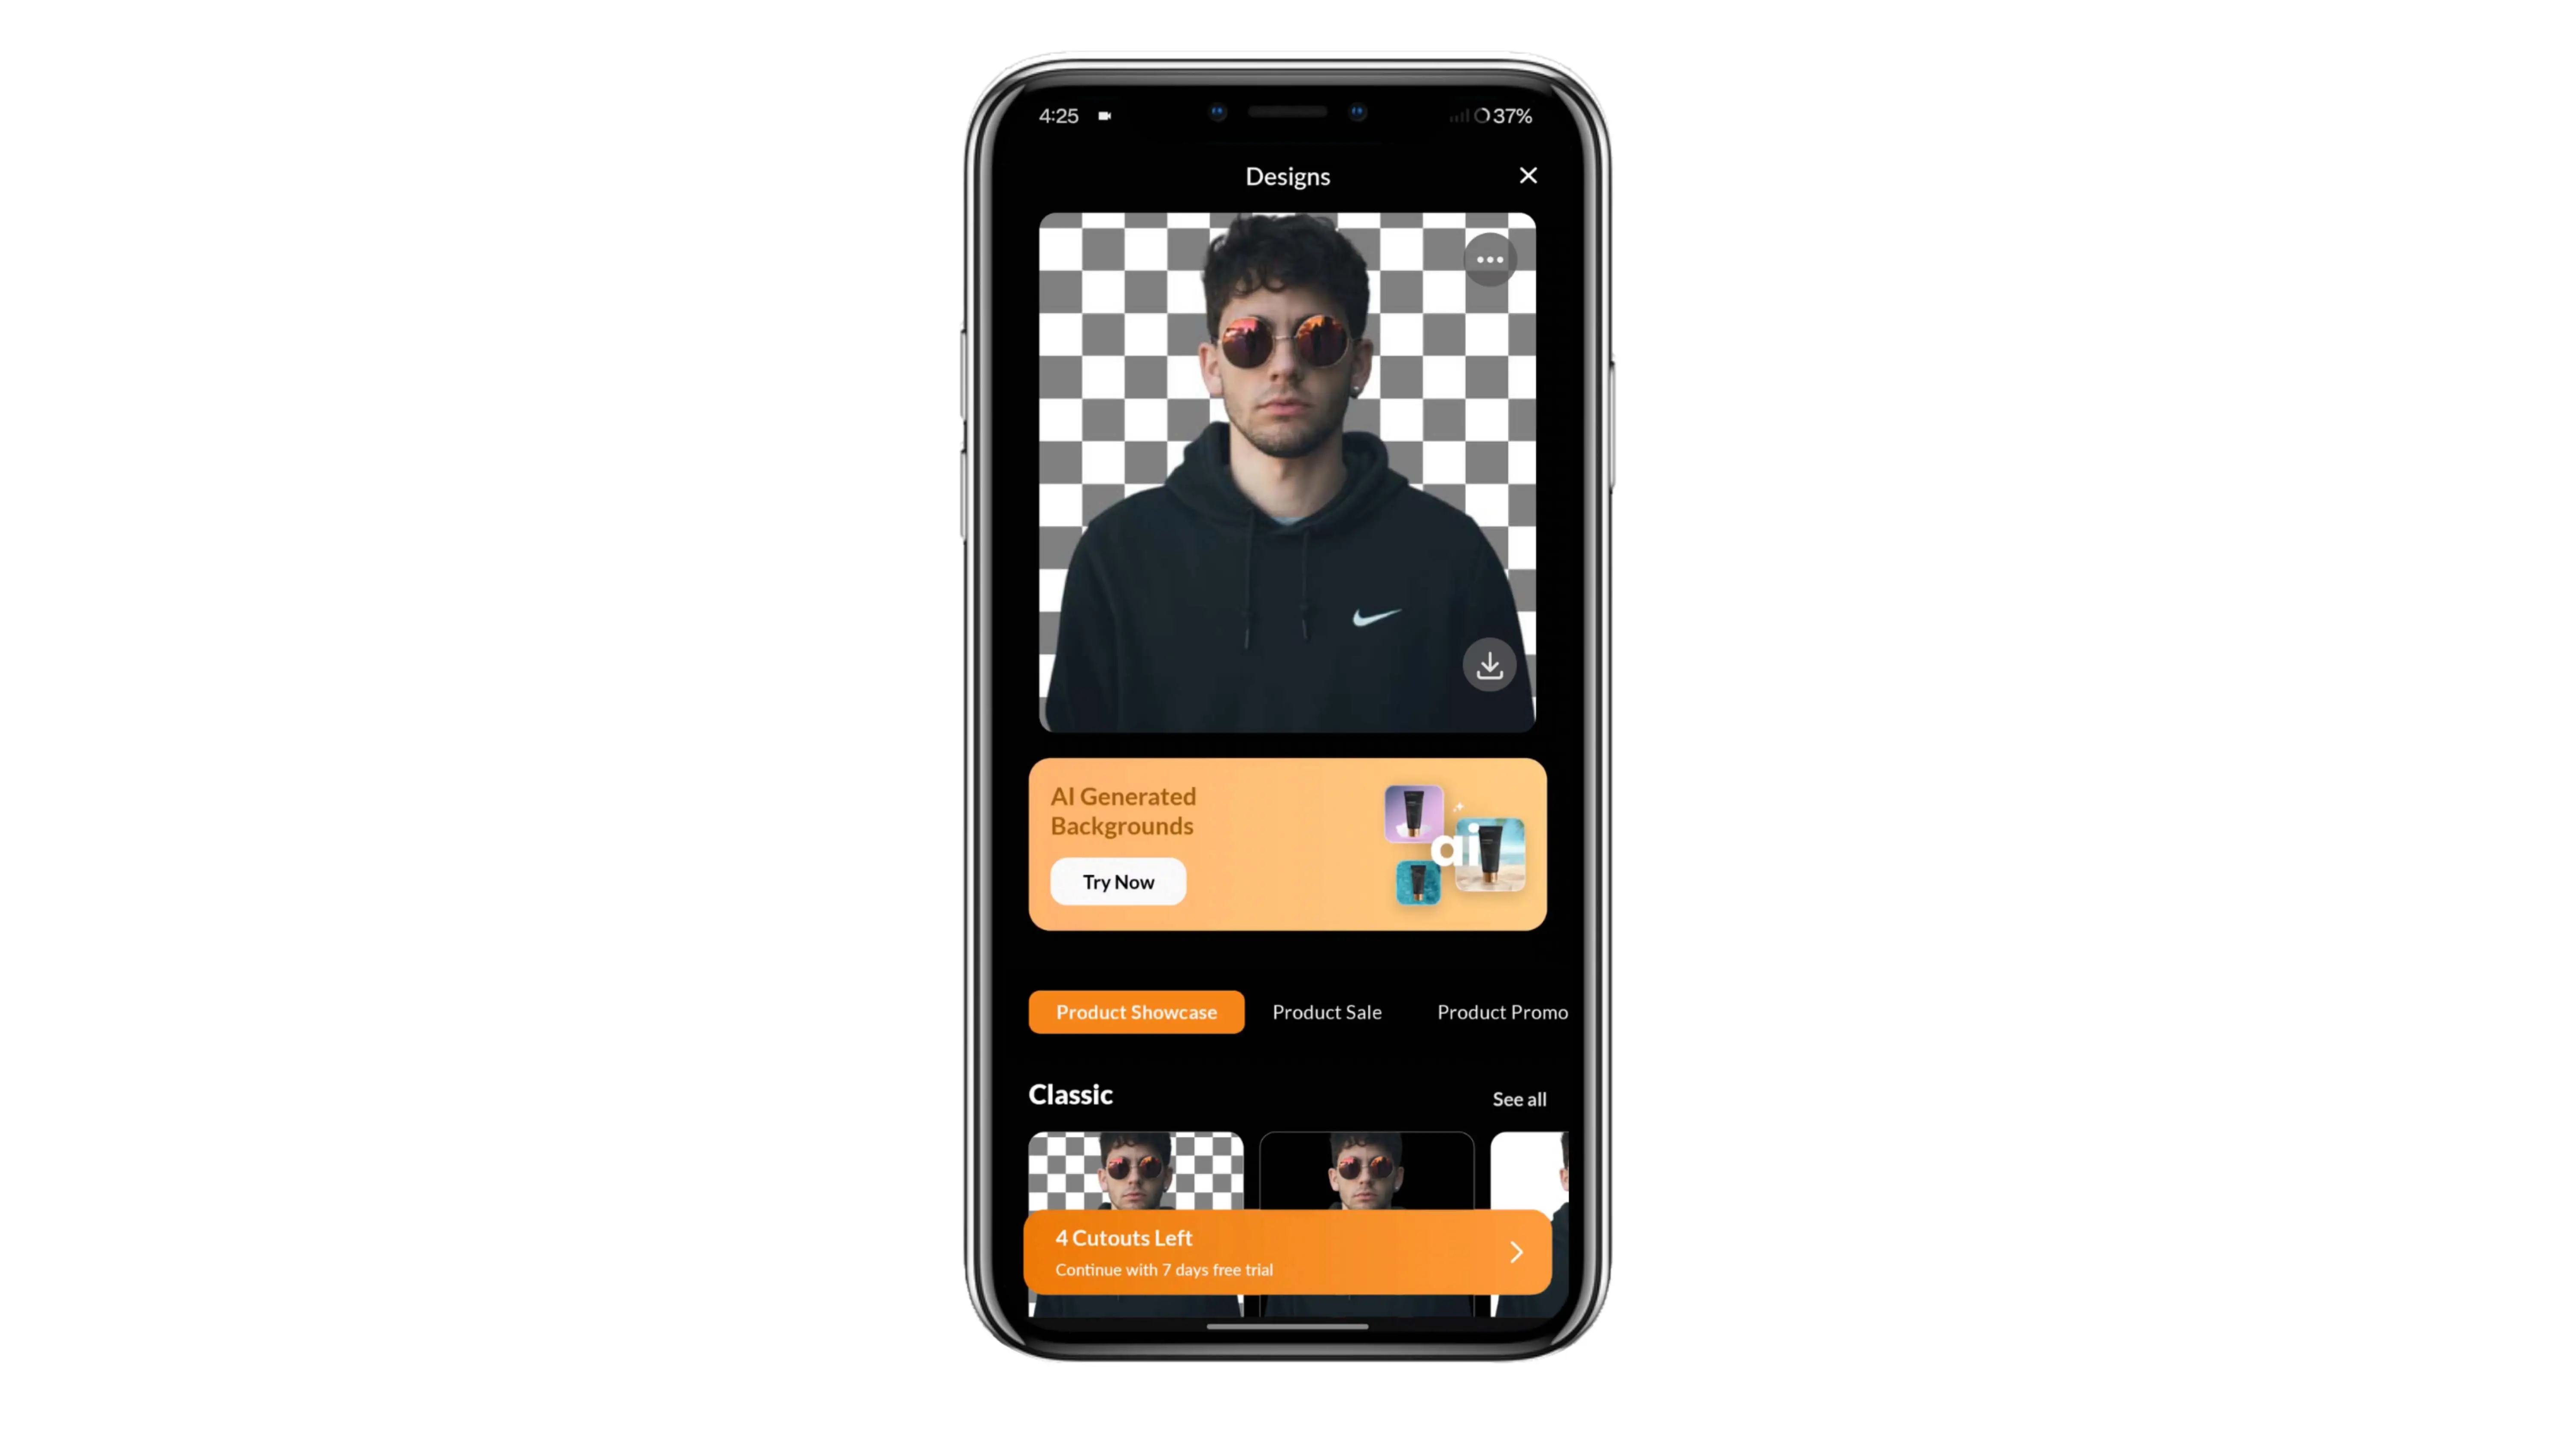
Edit the Background
Use the editing tools on the website to change the background color to white or light grey.
Finalize and Download
Once you're happy with the new background, download the edited photo in PNG format.
Last and Final Step to Download Image without BPrint and Use
If your photo meets all the requirements, you can print it on quality photo paper for your passport application.
Changing your passport photo background is simple with tools like Photocut. You can make sure your photo follows all the rules without needing any fancy editing skills.

Conclusion
Getting a good passport photo is important for your identity as a traveler. By following the guidelines for size, background, facial expression, and attire, you can create a photo that meets U.S. and European standards. Tools like Photocut make it easy to fix any background issues and ensure your photo is just right.
FAQs
Q1. Can I take a photo of my passport at home?
Ans. Yes, as long as it meets all the requirements.
Q2.What should I wear for my passport photo?
Ans. Everyday clothes are best, but avoid anything that looks like a uniform.
Q3. How do I change the background of my passport photo?
Ans. Use an online tool like Photocut to make the background white or light grey.
Q4. How recent should my passport photo be?
Ans. Within the last six months.
Q5. Are glasses allowed in passport photos?
Ans. Usually not, unless you have a doctor's note.
Q6. How can I change my background picture online?
Ans. Use a tool like Photocut for easy background removal.
You might also be interested in


FAQ’s
I recommend checking out our detailed step-by-step guide on How to Use a Free Photo Editor. It covers everything from downloading and installing to using the essential tools and techniques for enhancing your photos.